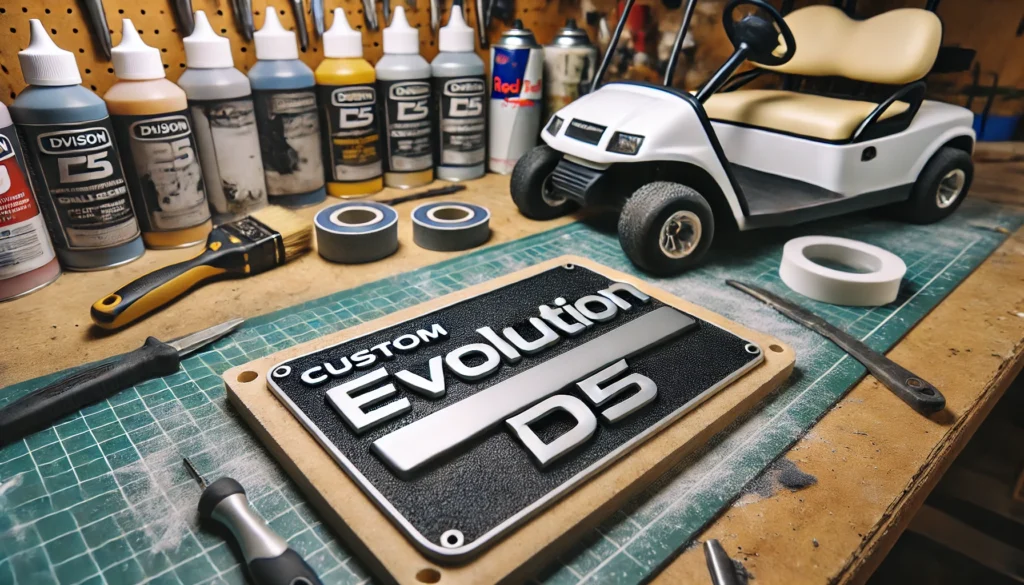
Custom Evolution D5 golf cart emblem undergoing post-processing with sandpaper, preparing for painting and final touches
Introduction
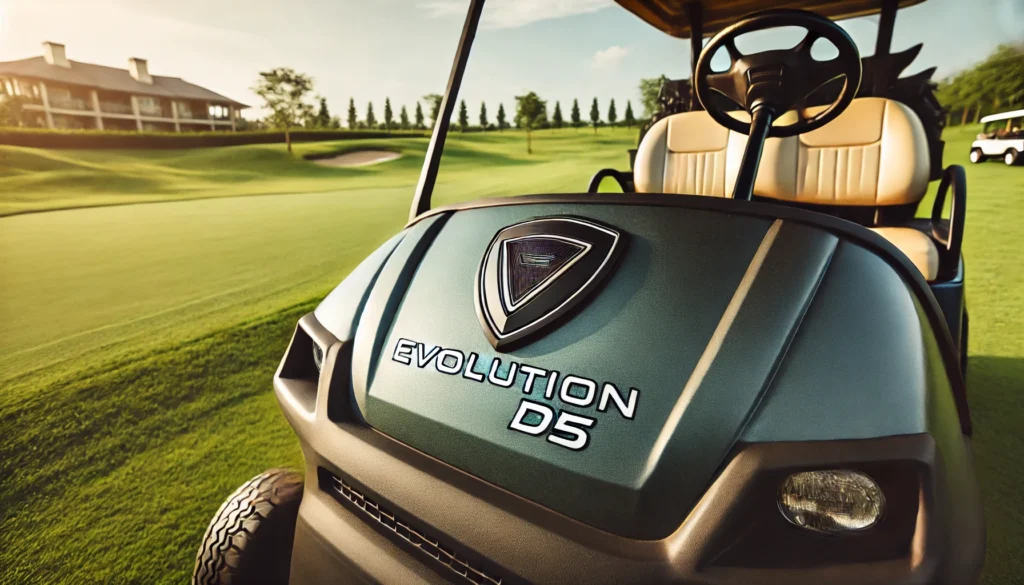
The Evolution D5 golf cart is a popular choice among golf enthusiasts and utility vehicle users alike. Known for its sleek design and reliable performance, this cart is a statement of style and practicality. One small yet crucial element that contributes to its visual appeal is the emblem. However, over time, the emblem may fade, get damaged, or simply no longer fit your aesthetic preferences. If you’re considering an emblem replacement, exploring STL files for custom 3D-printed emblems is an innovative and cost-effective solution.
This guide covers everything you need to know about Evolution D5 golf cart emblem replacement STL files. From understanding STL files to designing, printing, and installing your new emblem, you’ll find detailed steps and practical tips to make the process seamless. Let’s dive in!
Understanding the Evolution D5 Emblem
What Makes the Emblem Important?
The emblem is not just a decorative piece; it’s a reflection of the cart’s brand identity and personal style. A well-maintained emblem adds a polished look to your golf cart, enhancing its overall aesthetic and value.
Common Reasons for Replacement
- Wear and Tear: Constant exposure to sunlight, rain, and dirt can cause the emblem to fade or peel over time.
- Damage: Accidental impacts or scratches can ruin its appearance.
- Customization: Many owners prefer a unique, personalized emblem that reflects their taste or branding.
Exploring STL Files for Emblem Replacement
What is an STL File?
STL (Standard Tessellation Language) is the file format widely used for 3D printing. It contains the geometric information required to produce a three-dimensional object. For emblem replacements, STL files enable you to create a custom design that can be easily printed using a 3D printer.
Benefits of Using STL Files
- Customization: Design your emblem exactly how you want it.
- Affordability: Save money compared to purchasing a new emblem from official sources.
- Accessibility: Numerous online platforms offer free or paid STL files for various designs.
Where to Find STL Files?
| Platform | Features | Pricing |
|---|---|---|
| Thingiverse | Free community-contributed files | Free |
| MyMiniFactory | Verified, high-quality files | Free & Paid Options |
| Cults 3D | Unique designs by professionals | Paid |
If you can’t find a ready-made STL file for your Evolution D5 emblem, you can design one from scratch or hire a 3D modeler.
Designing a Custom Emblem
Tools and Software
To create a custom emblem, you’ll need 3D modeling software such as:
- Tinkercad: Beginner-friendly and web-based.
- Blender: Advanced but free and highly versatile.
- Fusion 360: Professional-grade with precise tools.
Step-by-Step Guide
- Gather Measurements: Measure the dimensions of your existing emblem space on the golf cart to ensure a proper fit.
- Sketch Your Design: Use design tools or paper sketches as a blueprint.
- Model in 3D Software:
- Start with basic shapes.
- Add details like text or logos.
- Ensure the design has smooth edges for a clean print.
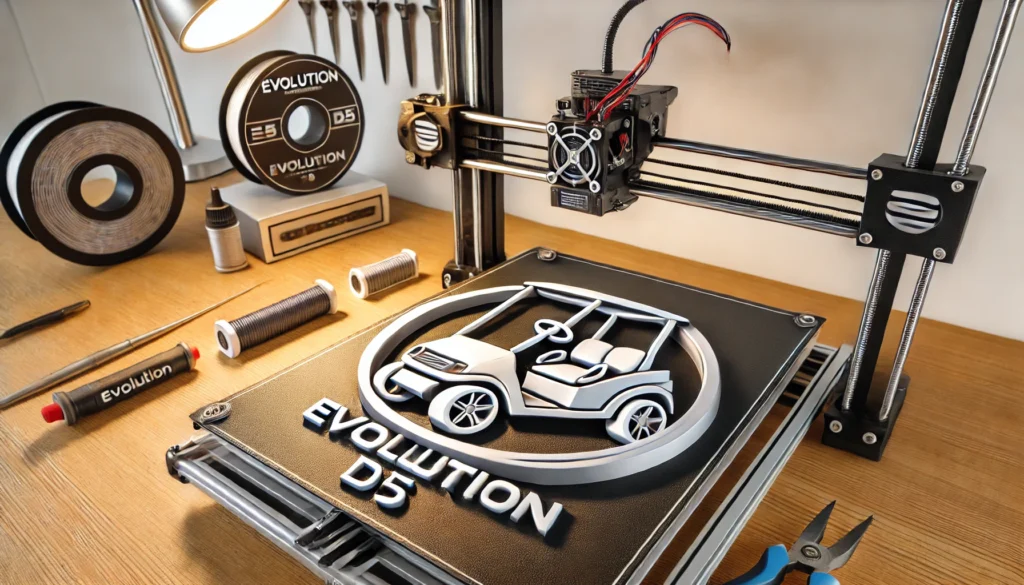
- Export as STL: Save your design in STL format for 3D printing.
3D Printing the Emblem
Choosing the Right Printer and Material
For durability and aesthetics, consider using:
- PLA: Affordable and easy to print.
- ABS: More durable but requires higher temperatures.
- PETG: UV-resistant, ideal for outdoor use.
Printing Process
- Load the STL File: Use slicing software (e.g., Cura) to prepare the file.
- Adjust Print Settings: Opt for a fine layer height (0.1-0.2mm) for better detail.
- Start Printing: Ensure the printer bed is level for optimal results.
Post-Processing Your Emblem
Once the print is complete, follow these steps:
- Clean the Print: Remove any supports and sand rough edges.
- Paint the Emblem: Use spray paint or acrylics to match your desired color scheme.
- Apply a Finish: Add a clear protective coat to enhance durability.
Installing the New Emblem
Removal of the Old Emblem
- Use a heat gun to loosen adhesive if necessary.
- Gently pry off the emblem using a plastic tool to avoid scratches.
Installation of the New Emblem
- Clean the Surface: Ensure no residue or dirt remains.
- Apply Adhesive: Use double-sided tape or automotive adhesive.
- Position and Secure: Align the emblem carefully and press firmly for a few minutes.
Maintenance Tips
- Clean Regularly: Use a soft cloth and mild soap to prevent dirt buildup.
- Protect from UV: Apply a UV-resistant coating to avoid fading.
- Inspect Periodically: Check for any signs of wear and address promptly.
FAQs
- Can I use any 3D printer for my emblem? Yes, as long as the printer supports the material (PLA, ABS, etc.) and has adequate resolution.
- How much does it cost to 3D print an emblem? On average, it costs between $5 and $20, depending on the material and design complexity.
- Do I need prior experience to design an STL file? No, beginner-friendly tools like Tinkercad make it easy for anyone to get started.
- What’s the best adhesive for attaching the emblem? Automotive-grade double-sided tape or silicone adhesive works best.
- How long will a 3D-printed emblem last? With proper care and materials, it can last for years.
Conclusion
Replacing the emblem on your Evolution D5 golf cart with a custom-designed, 3D-printed version is a rewarding project. It not only enhances your cart’s appearance but also reflects your personal style. By following this guide, you can easily create and install a new emblem using STL files, ensuring a unique and durable result. Whether you’re a DIY enthusiast or new to 3D printing, this process is both fun and practical.
Other Articles
Sniffiesncom: The Ultimate Guide to Exploring the Platform
David Pimm in New Jersey: A Comprehensive Guide to His Life, Work, and Legacy
Comprehensive Guide to 3.winpe11_10_8_sergei2024.07.12
Bebasinindo: A Comprehensive Guide to Understanding Its Significance